What is PSD to HTML?
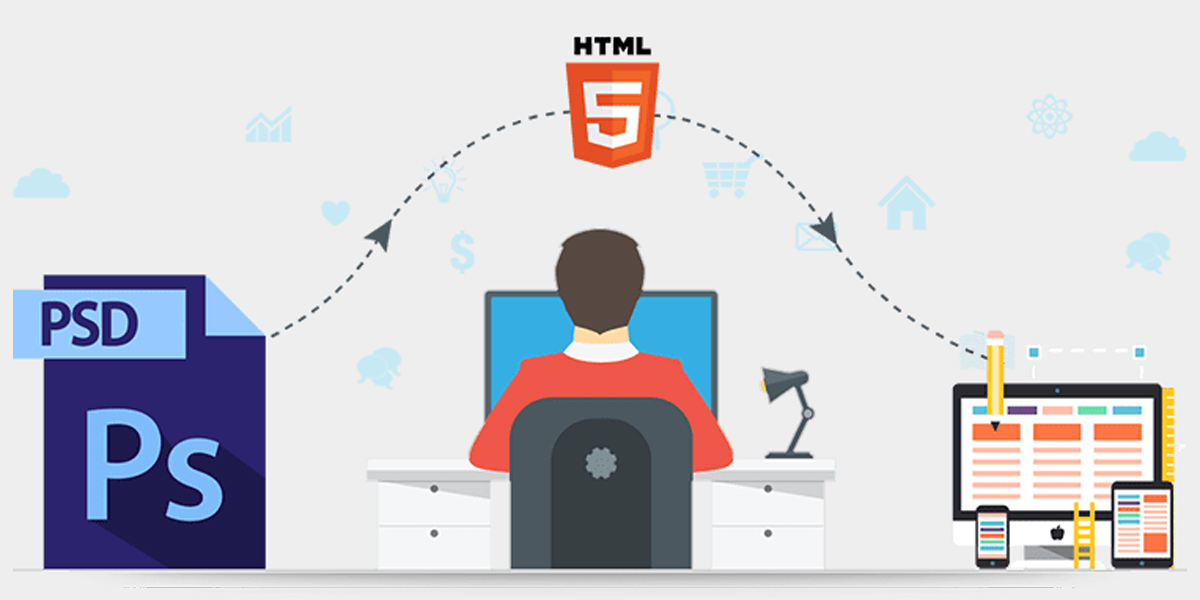
PSD stands for Photoshop document and the process of converting this file to an HTML document is known as PSD to HTML conversion. In Layman’s terms, graphic designers will use a tool like photoshop to create their designs and when the layout of the website is finalized, the development team will create the desired layout using HTML and CSS.
Why PSD to HTML?
PSD being a photoshop document may not be compatible with different browsers whereas HTML works perfectly fine on all browsers. PSD documents that are on the web cannot be recognized by search engines because the search engine crawler cannot identify them. This leads to our inability to do Search Engine Optimization(SEO). An in-depth description of the advantage and disadvantages of PSD to HTML will be discussed later.
Advantages:
- CSS makes it easier to create the image assets such as creating shadows, gradients, and CSS and HTML work together.
- PSD to HTML makes the site more responsive i.e website will be displayed properly on all devices regardless of their resolution.
- Pixel-perfect designs can be made with HTML and CSS.
- Customizing will get easier and the websites will load faster.
- Code can be optimized using Search engine Optimization techniques.
- As google indexes, the website made up of HTML, the reach of websites will grow.
- HTML is compliant with W3C standards.
Disadvantages:
- Too much work. The work gets doubled because of the design-to-code process.
- Most front-end developers can work on HTML and CSS, so photoshop becomes unnecessary.
How much time does it take to convert PSD to HTML?
There are a few factors to consider before predicting the time required to convert PSD to HTML.
- Website type: Depending upon the type of website, conversion of PSD to HTML can vary. For instance, normal business sites are less time-consuming than full-fledged eCommerce sites.
- Quantity of web pages: Websites come in all shapes and sizes. The higher the number of web pages, the more time is required to convert these pages into HTML documents and vice versa.
- Complexity: In addition to a number of pages, PSD documents can range in different levels of complexity. Hence, PSD documents with high complexity result in more time consumption.
What are the ways to convert PSD to HTML?
- Manual coding
- With the help of a PSD conversion company
- Automated tools
Steps To Follow:
1. Analyze the Photoshop documents: Before you start the process, make sure to analyze the PSD document and finalize the design with the customers. Otherwise, you will have to redo the conversion every time a minor change is required in the layout.
2. Identify different components of the webpage :
- Logo: The logo in general lives in the header of the website.
- Header: As the name suggests, it is the top section of a website. In general, it contains a logo, tagline, animations, navigation menu, and sliders.
- Body: The body section contains the content of the website. Mostly it is in textual format.
Hence, we need to make sure that all these components are well-placed in the right positions without hindering the look and feel of the website.
3. Slicing: Slicing refers to the breaking of a single PSD file into multiple small images. This helps the website load much faster. Slicing in photoshop can be done using:
- Normal
- Slices from Guides
- Fixed Size
- Fixed Aspect Ratio
After Slicing, save the file as “Save for the web” in photoshop.
4. Create the required directories: To organize the files, create directories.
- Create a root folder or the main folder with the website name.
- Create a folder named images under the main folder. Here, images can be stored for the website.
- Create a folder named CSS. All the CSS files will be placed here.
5. Create the HTML code:
An HTML page can be built with the help of Adobe Dreamweaver or with open-source tools such as Amaya. Create a file using these tools and name it index.html and save this file to the main folder. Afterward, create a CSS file in an editor and style the webpage using font size, font background, font color, the position of images, margins, fieldset, and so on. Finally, link the CSS file to the HTML file.
6. Create JavaScript code for user interaction:
According to your need, make a JS file and link it to the HTML file.
7. Make the website Responsive:
Tweak the CSS file in order to make it more responsive. The website must render correctly on all devices irrespective of its screen resolution. To check the responsiveness of the website, you can use online responsive checker tools. Moreover, you can also use the inspect element option on your web browser. For that you can:
- Open the website in your web browser.
- Right-click on the screen and click the “Inspect element” or “Inspect” option. A small section will appear on the screen.
- In the top right corner of the sub-section that appeared earlier, you can see three dots. Click on the square icons residing on the left of those three dots. Hovering over that icon will display Responsive Design Mode.
- After clicking, you can choose a different screen resolution or display for different devices in a drop-down menu.
Author : Anurag Pokhrel


